
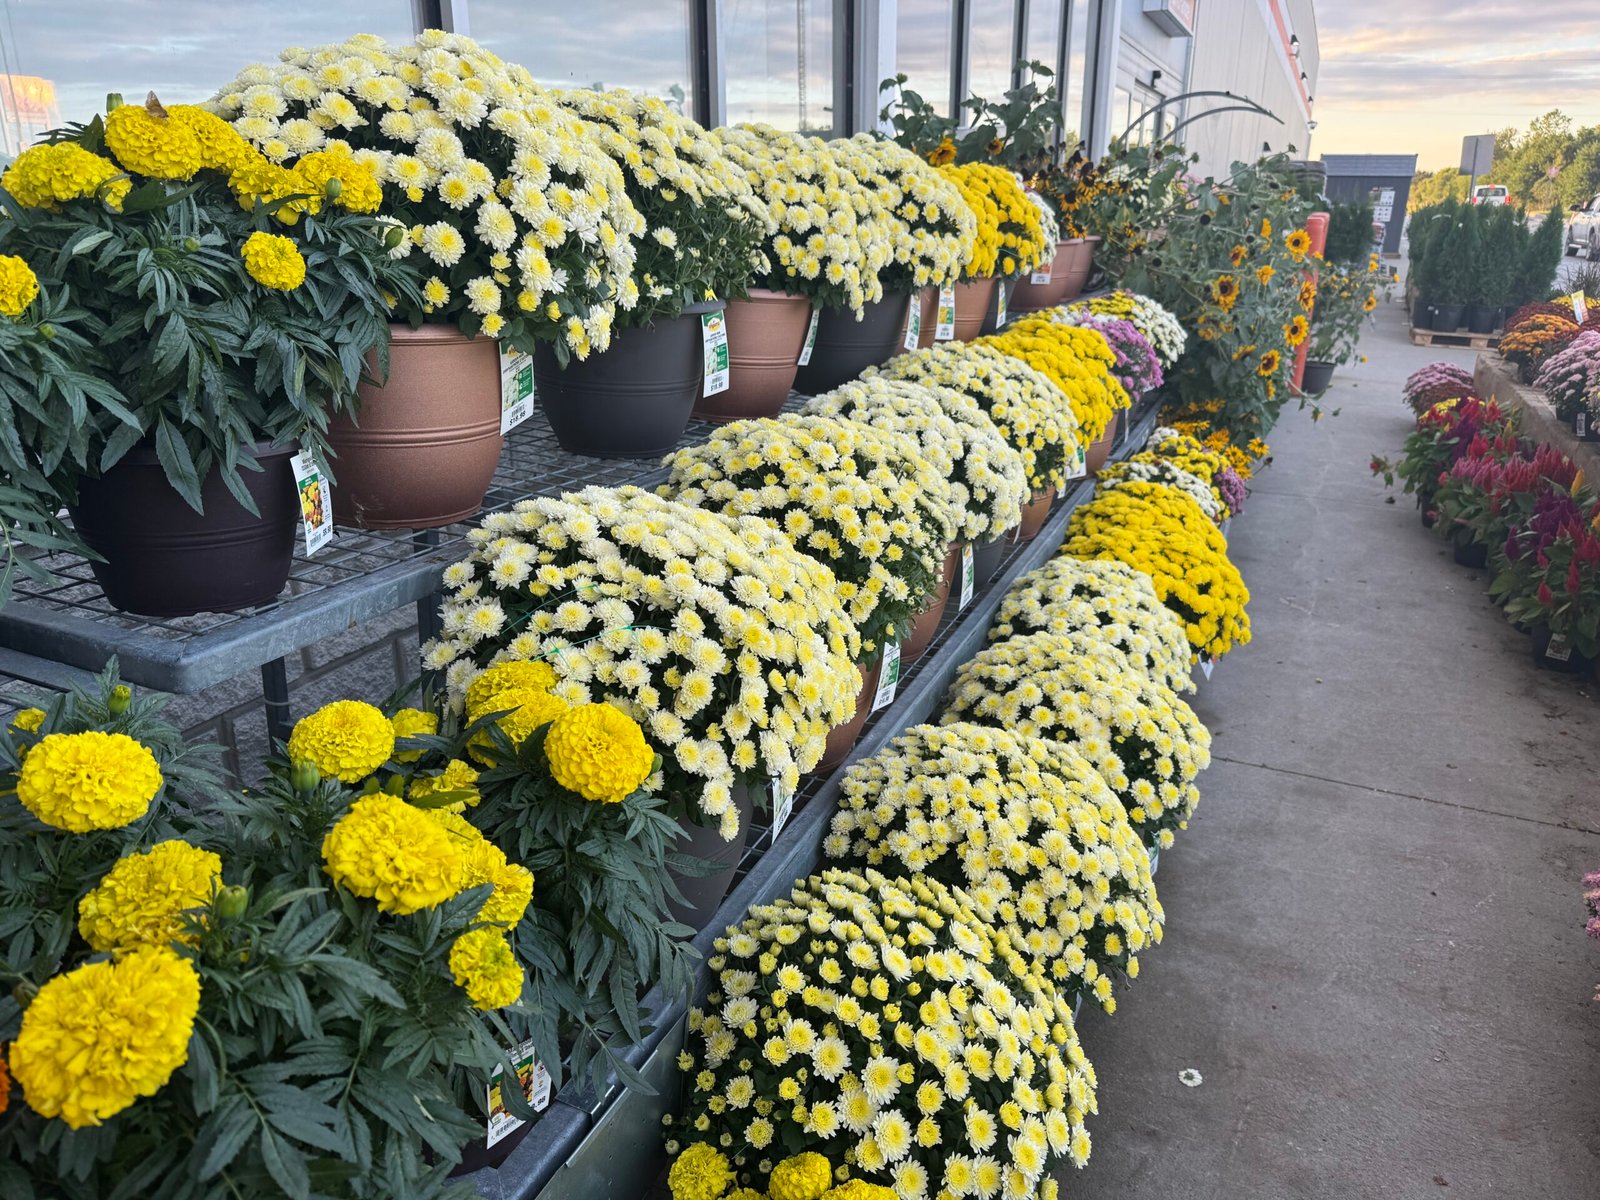
The Season of Gold: Embracing Autumn with Marigolds and Mums
When the golden tone of summer starts to disappear, a lively new colour scheme comes in to replace it. The fresh, sharp air is a pleasant change, though it also means that our gardens and outdoor areas are going through a change of season. The sight we have here, with its lively arrangement of yellow marigolds and white chrysanthemums, is an excellent representation of this change of season. This is not merely a picture taken at a local garden centre; it’s a plea to all gardeners. It is the time to move from the summer-flowering annuals to the real highlights of the fall — hardy, cold-tolerant plants that will offer weeks of rich colour. In this article, we will go beyond the usual “how to plant” advice and look at the expert tips and strategies necessary to ensure that your autumn garden becomes a remarkable success. We will examine how to choose the healthiest plants, form combinations that do well in cooler weather, and look after them so as to achieve a long-lasting and impressive display that will stand up to the approaching frosts.
The secret to having a lasting and successful autumn display lies in understanding the particular biology of these plants and the specific conditions they require in the autumn. Even though a great many people regard the end of summer as the end of the gardening season, a thoughtfully planned garden in the fall can be just as rewarding, if not more so. Because of the cooler temperatures, the plants suffer less from water stress and weed growth is slowed down, which makes looking after them a lot easier. It is also the best time to concentrate on root development, so that the new plants you introduce have a strong start for the following year, especially perennials. The neatly trimmed rows of marigolds and mums in the picture illustrate what can be achieved, but attaining that kind of long-term beauty does require some planning. This article will act as your guide through this transition; we’ll look at practical measures, such as drainage methods that prevent root rot and particular feeding schedules that promote ongoing flowering. We’ll show you how to combine these different textures and colours to produce a spectacular display that not only has an immediate visual effect but also helps your local ecosystem during the changing season.
Making the Transition: Selecting and Planting for Autumn Success
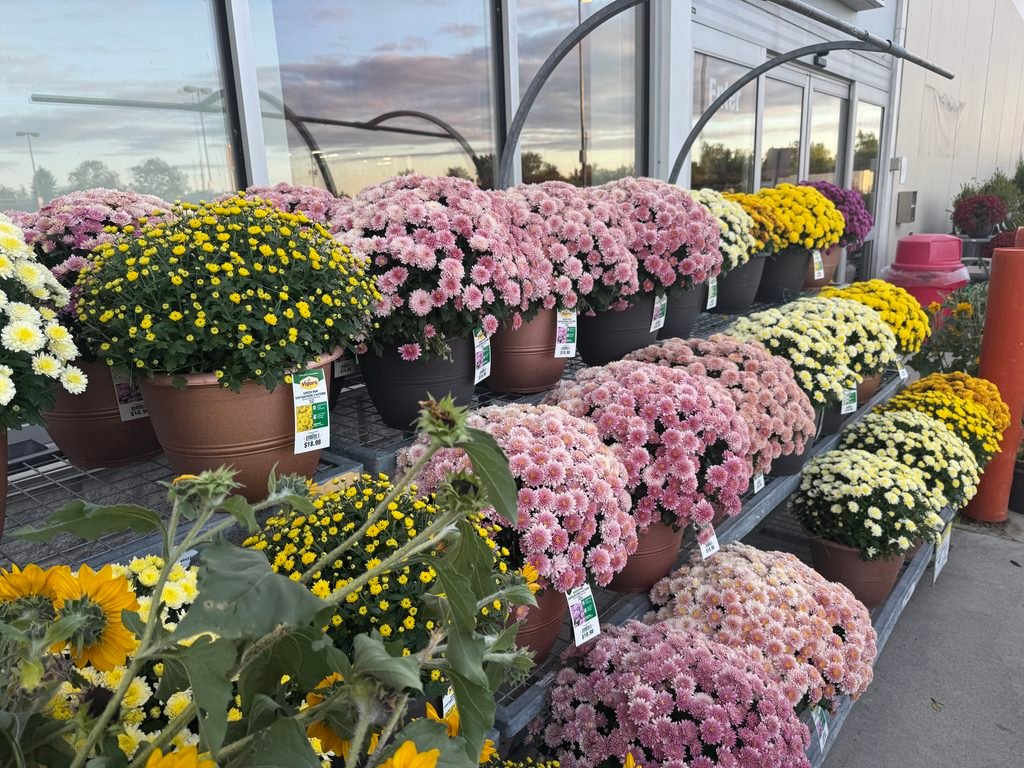
The large displays at garden centers—such as the one shown in the accompanying picture with its layers of pink and yellow chrysanthemums and bright sunflowers—have a strongly attractive appeal. There is certainly a desire to just pick up a few pots and have an immediate effect. Yet it is necessary to adopt a thoughtful, value-oriented method if one is to achieve lasting beauty. Relying on the “grab and go” attitude can result in the plants wilting quickly and in them failing to get established before the severe cold comes.
The section sets out a well-organized and practical course of action for making intelligent choices regarding plants and for carrying out a planting strategy that gives real value rather than just offering a general, standard kind of advice. It goes beyond simple “buy and plant” recommendations by giving the specific and accurate techniques that are used by professional landscapers.
Step 1: Assessing and Correcting Root Systems
A major defect in a great many retail fall plantings is to be found in the pot. Although the chrysanthemums illustrated are pretty, they are probably at the limit of their root capacity in the containers they are in. Plants bought later in the season are often severely root-bound, that is to say their roots wind around the inside of the pot and become closely packed together. This stops them from being able to take in water and nutrients again and will cause them to fail quickly when they are planted.
Actionable Strategy: It’s not enough merely to tip the plant out and drop it into a new hole. When you take the plant out of its pot, you should actively untangle and reshape the root ball. If the roots are tightly matted, use a small knife to make 3 to 4 vertical cuts, about half an inch deep, into the mat of roots and then gently pull the roots outwards before planting. This drastic measure causes new lateral root growth to develop in the surrounding soil, something that is essential for the plant’s cold-hardiness and for its survival. The failure to remedy a root-bound condition is the most frequent cause of a plant dying within 30 days of being planted.
Step 2: Soil Preparation and Positioning
A second major point at which standard guides fail is their disregard for the correct soil texture; in the case of autumn planting there is a basic difference since we are dealing with water saturation rather than just water deficiency.
The key strategy is to choose the right position; locations that get at least six hours of direct sunlight should be selected, as can be seen in the well-lit outdoor arrangement shown in the image, since this is essential for maximizing flowering. Garden soil alone is not sufficient. In many areas, autumn results in too much moisture and plants placed in heavy, cold, and saturated soil will rot and die rapidly. Where the soil is clayey or heavy, the native soil must be mixed with organic material such as compost, leaf mold, or well-rotted manure to establish drainage channels. It is also important to make sure that the top of the root ball is level with or very slightly above the level of the surrounding soil to help promote runoff and avoid water collecting around the main stem. Proper drainage is a absolute requirement for a successful outcome.
Step 3: Creating an Immediate (and Future) Display
The visual impact of the garden centre arrangement is due to its layered density; we need to copy this effect without compromising the health of each individual plant. If we are to attain genuine value and create a spectacular display, then we also have to take future usefulness into account.
Actionable Strategy:
Tiered Densification: The display in the image makes good use of tiers. To achieve the same effect, use containers or retaining walls. Place the mums that grow less tall—such as those in the first row—at the front and those that are taller, for example sunflowers or mums of different colours, further back. The vertical element thus gives a small display a professional and full appearance.
When it comes to multi-tasking, pick some plants with specific future uses in mind. For sunflowers, choose varieties that are known for having strong stems and for producing good amounts of pollen and seeds. These plants are not only for decoration since you can collect the seed heads to use them as food for birds in the winter. With regard to mums, go for ‘hardy mums’ (chrysanthemum morifolium) not ‘florist mums’ (Dendranthema x grandiflorum). A hardy mum will come back the following year if it is properly root-corrected and mulched before the severe freezes, thus turning what would be a temporary buy into a long-term investment.
Sustainable Care: Prolonging Bloom and Winterizing Fall Perennials
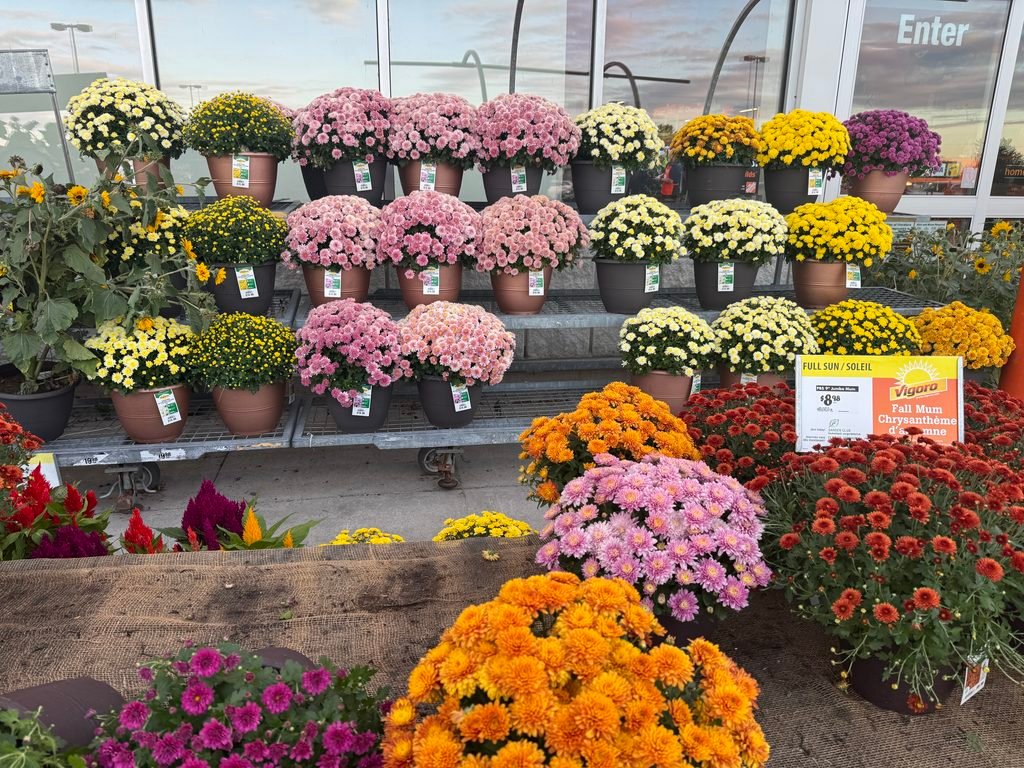
In order to get the most out of your autumn floral planting, your focus should move from the initial planting to continued maintenance and long-term protection. This is shown by the bright, multi-level display of “Vigoro Fall Mums” in copper, lavender, yellow and deep bronze colours, which achieve their best colour when they receive careful moisture management, specific feeding and intentional after-bloom care.
Step 1: Precision Watering and Deadheading Protocols
The biggest error when watering potted chrysanthemums and celosia in dense containers is to water them from above. When water is poured directly onto the flower canopy it traps moisture in the closely packed petals and leaves, thus providing favourable conditions for fungal diseases such as grey mold (Botrytis cinerea) and powdery mildew.
For potted mums, always water directly at soil level or employ bottom-watering methods. The soil should be kept moist all the time but never made soggy. Since mums that are in full bloom take in a large quantity of water, you need to check the moisture level of the soil every day by inserting a finger one inch into it. In order to constantly encourage the formation of new flower buds and to carry on blooming until late autumn, you should systematically remove the spent flowers. Use clean, sharp floral scissors to cut the withered blooms back to the nearest leaf node. This stops the plant from using its energy on producing seeds and instead channels that energy towards the development of new buds.
Step 2: Nutrient Management and Cold Season Transition
The use of high-nitrogen fertilisers is necessary for summer growth, but a different chemical balance is required in the fall to get the plants ready for the coming frost.
When you buy autumn flowering plants, stop using high-nitrogen fertilisers right away since too much nitrogen promotes the growth of tender foliage which is likely to freeze and damage the main part of the plant. Rather, make one application of a liquid fertiliser that is low in nitrogen and high in phosphorus (for example, one with the formula 5-10-5 or 10-30-10) in order to help the roots develop strongly and to keep the colours of the flowers vibrant.
Step 3: Overwintering and Root Protection
In order for hardy chrysanthemums to come back the following spring rather than behaving as annuals, it is necessary to provide them with proper insulation before the ground freezes completely.
Actionable Strategy: While winter lasts, don’t cut back the dead stems since doing so would cause the crown to become wet and be subject to freezing temperatures. After the first hard frost has killed the upper growth, spread over the base of the plant a layer of organic mulch—for example, shredded bark, clean straw, or evergreen boughs—three to four inches thick. This will protect the root system from the freeze-thaw cycles which can cause plants to be thrown out of the ground. When spring comes, remove the mulch and then cut back the old stems so that the new green shoots can appear.
Putting together the Autumn Display: Hanging Baskets for Maximum Effect
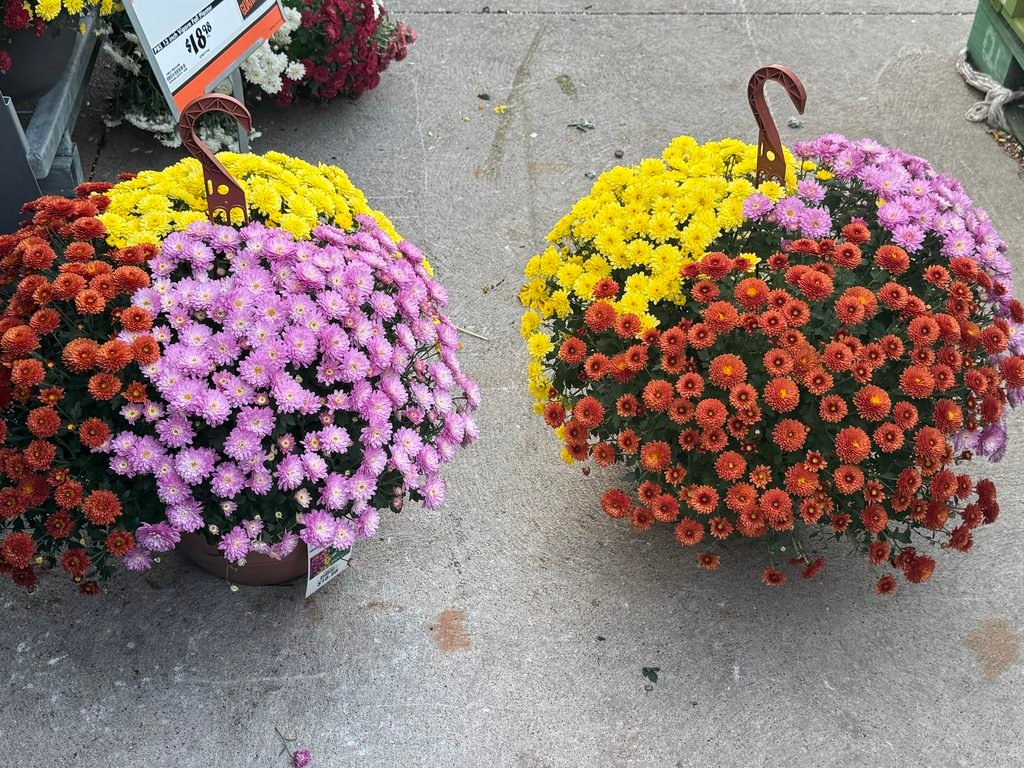
The final display, which features two rich hanging baskets with yellow, purple and copper tones in Vigoro containers, shows how autumn arrangements provide a vivid vertical effect and a great visual appeal to any outdoor area. It is not just a matter of aesthetics to use hanging baskets; it is a wise approach for making the best use of space and giving an energetic appearance to porches, entrances and patios.
Guidelines for a Successful Arrangement and for Ensuring Longevity:
Vertical Effect and Exposure: Hanging baskets enable the chrysanthemum flower heads to drape downwards, forming a natural, colourful cushion that draws the eye upwards. Place the baskets in spots where they will get sufficient sunlight but are also protected from strong autumn winds that can quickly dry out the soil in the containers.
Moisture Control in Containers: Because the amount of soil in hanging pots is small, the substrate dries out far more quickly than in garden soil, so it is important to regularly check the moisture by inserting a finger two centimetres deep. Water should be applied only at the root zone to avoid moisture staying on the petals, since this directly cuts down the chance of fungal growth.
Colour Combinations and Value: Choose combinations that contrast warm and cool tones—for example, bright yellow and deep purple—in order to visually enhance the space. By picking hardy varieties and carrying out the proper maintenance steps, you can successfully move from one season to the next and enjoy the decorations in your garden for a long time.
Article Reference & Credits
Publisher & Media Owner: Curated Scope (https://curatedscope.com/)
Content Creator / Author: Curated Scope
Photography Credits: All photographs and visual media featured in this article were captured by Curated Scope and are protected under copyright.
Licensing & Usage: No part of this text or image content may be reproduced, republished, or redistributed without explicit written permission and proper source attribution back to Curated Scope